A wall that feels cold, looks stained or starts shedding paint is rarely just a decorating issue. If you are wondering how to dry out walls, the first thing to understand is that drying the surface is only part of the job. Unless the source of moisture is identified and dealt with, the problem usually returns.
That matters whether you are a homeowner trying to protect your property, a landlord managing repairs, or a buyer concerned by a survey report. Walls can hold far more moisture than people expect, and different causes need different remedies. A leaking pipe, a flood, condensation and rising damp can all leave a wall wet, but the correct response is not the same in each case.
How to dry out walls without trapping moisture
The biggest mistake we see is people trying to hurry the process by covering over the problem. Fresh paint, stain block products and new plaster do not dry a wall. In some cases, they slow evaporation down and leave moisture trapped in the structure.
A proper drying process starts with diagnosis. You need to know where the water came from, whether it is still entering the building, and what materials are affected. Plasterboard, solid masonry, timber studs, insulation and decorative finishes all behave differently once wet.
If the wall has been affected by a one-off event, such as a burst pipe or storm ingress, drying may be relatively straightforward once repairs are complete. If the moisture is ongoing, drying efforts will stall until the underlying defect is resolved.
Start by finding the source of moisture
Before you bring in fans or dehumidifiers, check the obvious and the less obvious. External defects such as cracked render, failed pointing, blocked gutters and damaged roof coverings can allow rainwater to track into walls. Internally, plumbing leaks, failed seals around showers and baths, and overflowing appliances are common culprits.
Then there are moisture problems that are often misunderstood. Condensation tends to build up on colder wall surfaces where ventilation is poor. Rising damp affects walls at low level and needs proper diagnosis rather than guesswork. Penetrating damp may appear in isolated patches and worsen after rainfall. If the cause is misread, the wall may be dried temporarily but never truly cured.
This is why survey-led advice matters. There is little value in treating symptoms if the building defect remains active behind the scenes.
Remove standing water and wet materials first
If there has been flooding or a significant leak, deal with free water before focusing on the wall itself. Mop up standing water, extract saturated carpets where possible and remove furnishings from the area. The less water left in the room, the faster the building can start to dry.
Some materials may need to be taken out. Wet insulation, badly affected plasterboard and water-damaged skirting boards can hold moisture for a long time and may deteriorate if left in place. Not every wall needs to be stripped back, but in more serious cases selective removal helps the structure dry properly and allows hidden damage to be assessed.
There is a balance here. Stripping too much too soon can create unnecessary reinstatement costs, but leaving saturated finishes in place can prolong the problem. The right decision depends on how wet the wall is, how long it has been affected and what it is made from.
Use ventilation and controlled heat
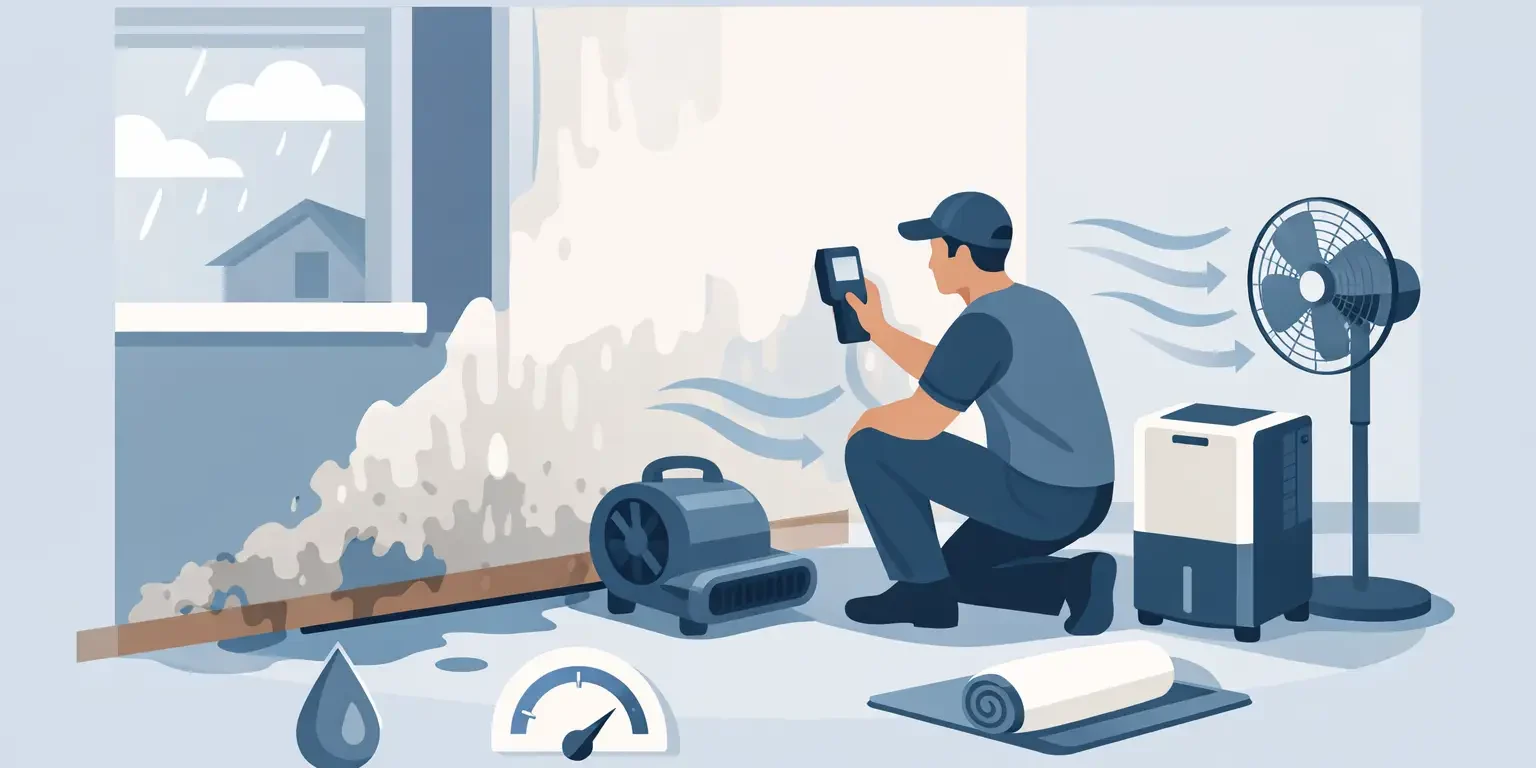
Air movement is one of the simplest ways to encourage drying. Open windows when weather and security allow, especially if the moisture came from an internal leak rather than driving rain. Use extractor fans in kitchens and bathrooms, and keep internal doors open where that helps air circulate.
Gentle, steady heat can also help, particularly in cooler months. What you are aiming for is evaporation, not overheating. Very high heat on a damp wall is rarely the answer and can cause finishes to fail before the underlying structure is dry.
If the room is cold and poorly ventilated, moisture will linger. If it is warm with good airflow, drying becomes much more efficient. That said, open windows are not always useful in wet weather or in very humid conditions. It depends on what is happening indoors and outdoors at the time.
Dehumidifiers can help, but they are not a cure
For many property owners, a dehumidifier is the first thing they buy, and it can be helpful. It removes moisture from the air, which encourages damp materials to release more of their retained water. In contained spaces, this can speed up the drying process noticeably.
However, a dehumidifier does not fix a leaking gutter, failed damp proof course detail, plumbing defect or bridging issue. It is a drying aid, not a diagnosis. It is also more effective in enclosed areas than in a house with windows open all day.
Positioning matters. Keep doors and windows mostly closed if you are relying on a dehumidifier, empty it regularly unless it has continuous drainage, and give it time. A wall that has absorbed moisture over days or weeks will not dry out overnight.
How long does it take to dry out walls?
This is the question everyone asks, and the honest answer is that it varies. A lightly affected internal wall after a minor leak may dry within days once the source is repaired and ventilation is improved. A solid masonry wall affected by prolonged water ingress or flooding can take weeks, sometimes longer.
Thickness of the wall, type of plaster, room temperature, humidity and airflow all make a difference. So does the season. Drying is usually slower in winter, particularly in older buildings with solid walls and limited background heat.
It is also worth remembering that a wall can feel dry on the surface while still holding moisture deeper within. That is one reason premature redecoration often fails.
When to hold off on plastering and painting
If you redecorate too soon, the wall often tells you. Paint blisters, salts appear, wallpaper lifts and staining returns. New finishes can be damaged not because the product was poor, but because the substrate was not ready.
After a leak or damp treatment, walls should be allowed to dry to an appropriate level before replastering or decorating. In some cases, specialist plaster specifications are required, especially where salts or previous damp contamination are involved. A standard skim is not always suitable.
This is where having one contractor oversee diagnosis, remedial work and reinstatement can make life easier. It reduces the risk of one trade drying the wall, another plastering it too soon, and the property owner being left to sort out the consequences.
Signs the problem is more than surface damp
Some warning signs suggest a more involved issue. Tide marks at low level, crumbling plaster, decayed skirtings, fungal growth, persistent musty odours and repeated damp patches all point to moisture that has been present for some time. If nearby timbers have softened or show signs of rot, the wall issue may already have affected adjoining materials.
This is particularly important in older properties and in buildings where previous repairs may have hidden the true cause. We often find that what appears to be a simple drying job is actually linked to penetrating damp, defective detailing or long-term moisture retention within the structure.
Where mortgage reports, insurance claims or pre-sale concerns are involved, a professional survey can also provide clarity and a documented route forward.
When to call a specialist
If the wall has been wet for more than a short period, if the cause is unclear, or if there are signs of decay, it is sensible to bring in a specialist. The same applies after flooding, where hidden moisture can remain in wall bases, floor voids and adjacent timbers even after the room starts to look normal again.
A proper inspection should establish the source of moisture, measure the extent of the problem, identify any associated timber risk and set out what needs to happen next. That may include repairs to stop water ingress, removal of damaged finishes, controlled drying, damp proofing measures where genuinely required, and reinstatement once the building is ready.
For property owners in Devon and Cornwall, where older housing stock and exposed weather conditions can both play a part, practical local experience makes a real difference. Sovereign Preservation takes this survey-first approach because it leads to clearer recommendations and more reliable repairs.
Drying out a wall is not about making it look better for a week. It is about giving the structure the chance to recover properly, then putting it back together with confidence.